Want to know how to create quick motion graphics to celebrate when you reach follower goals on Instagram? We spoke to Creative Designer Matt Fowler about how he creates his to help engage his audience and to show off his motion skills. Note: you will have to have a basic understanding of After Effects to make the most of his tutorial.
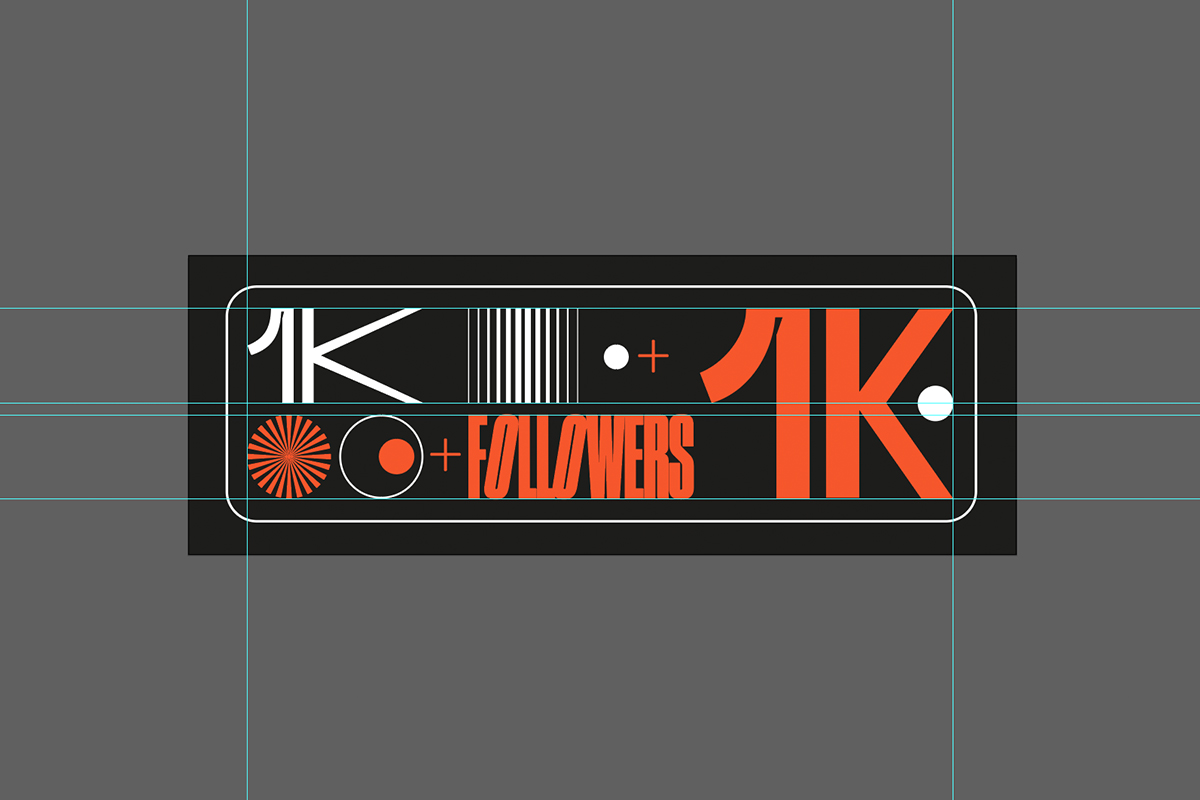
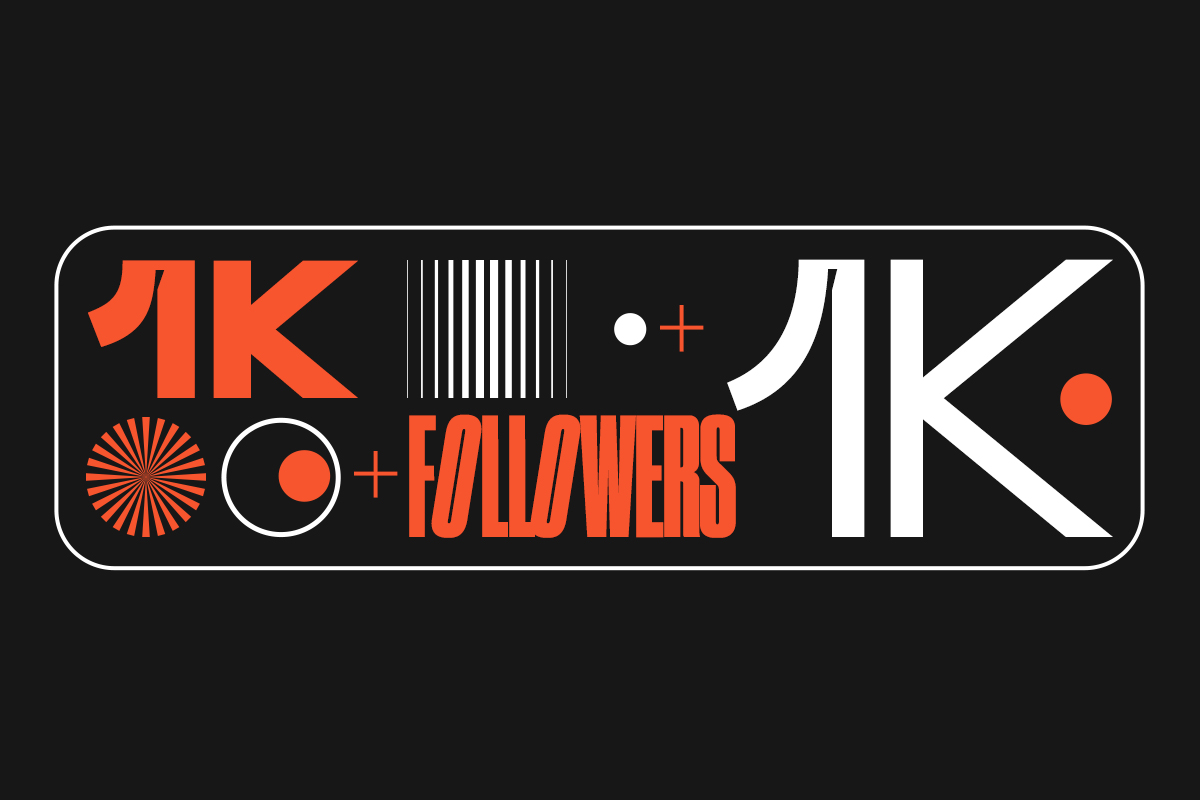
Step 1 — As with most projects, I would map out the layout in Illustrator so you have the creative in vector format for the best quality. I wanted to create something ultra-dynamic with elements moving at different speeds and directions moving around a 2-row rectangle. Create outlines on all text and elements and import into After Effects.
Step 2 — Import the Ai file as a composition so that you have all the elements on separate layers. This part is the main part of the animation and was a little fiddly. Path maps were used to create the resizing of the ‘1K’ and then manually changing the ‘position’ markers in sync so that they moved in unison. Easy ease and further edits on the graph function were used so that you get the nice snapping on the movement.
Step 3 — Now I had the flow and speed of the animation sorted, I moved onto animating all the other individual elements in separate compositions. Once complete they were imported into the main composition and as with the previous step ‘position’ markers were used so the movement is all in time.
The ‘Followers’ text was a little trickier. Due to the size and length of the word it was never going to naturally move around the grid without crossing over the other elements. The way around this was to leave two gaps at various parts of the animation, whereby masks moving in time would reveal the text and again take it away as elements pass over the word.
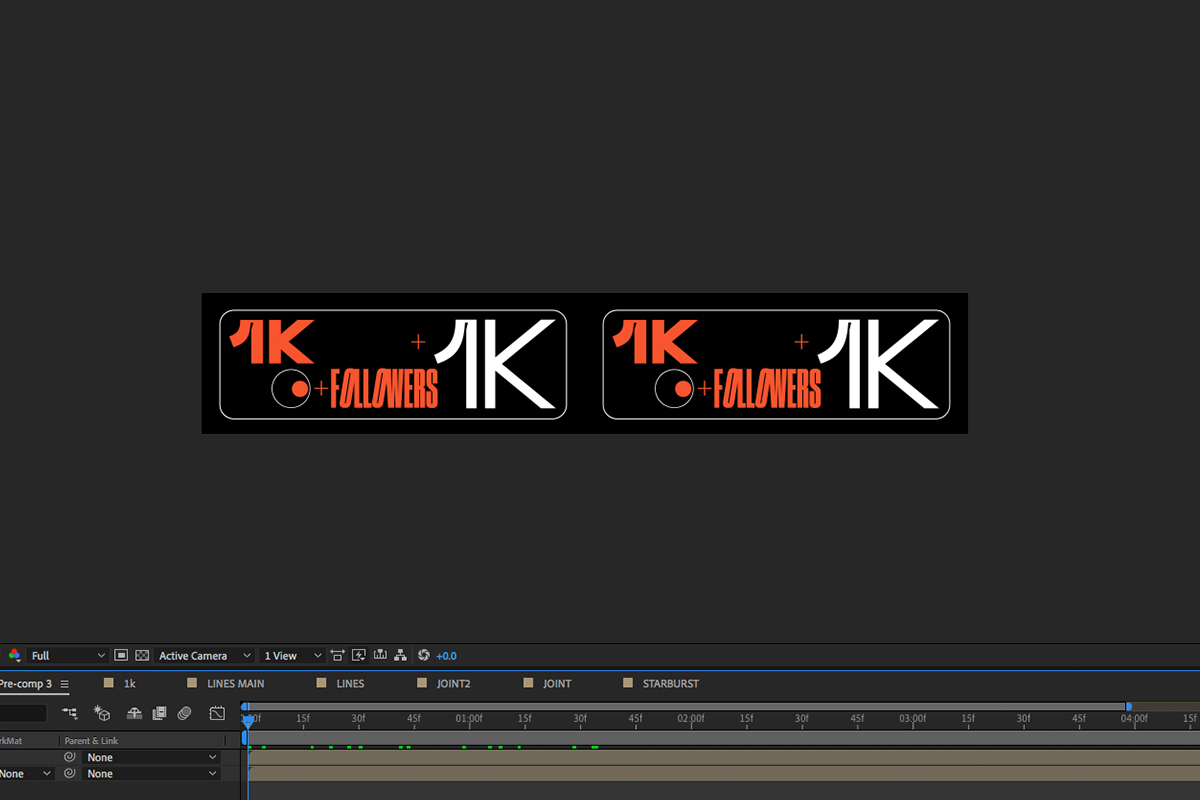
Step 4 — With the main animation sorted I moved on to the swipe that gives it a real free-flowing look. A new composition was created at double the width dimensions and two copies of the main composition dropped in.
Step 5 — Finally, I created a new composition and dropped in three of the ‘doubled up’ compositions from step number 4. I then staggered the doubled compositions so that all the elements were moving at separate times giving the illusion that each animation is different but in reality, they are exactly the same. In order to get the perfect loop, I cropped the timeline so that the start and finish are identical.
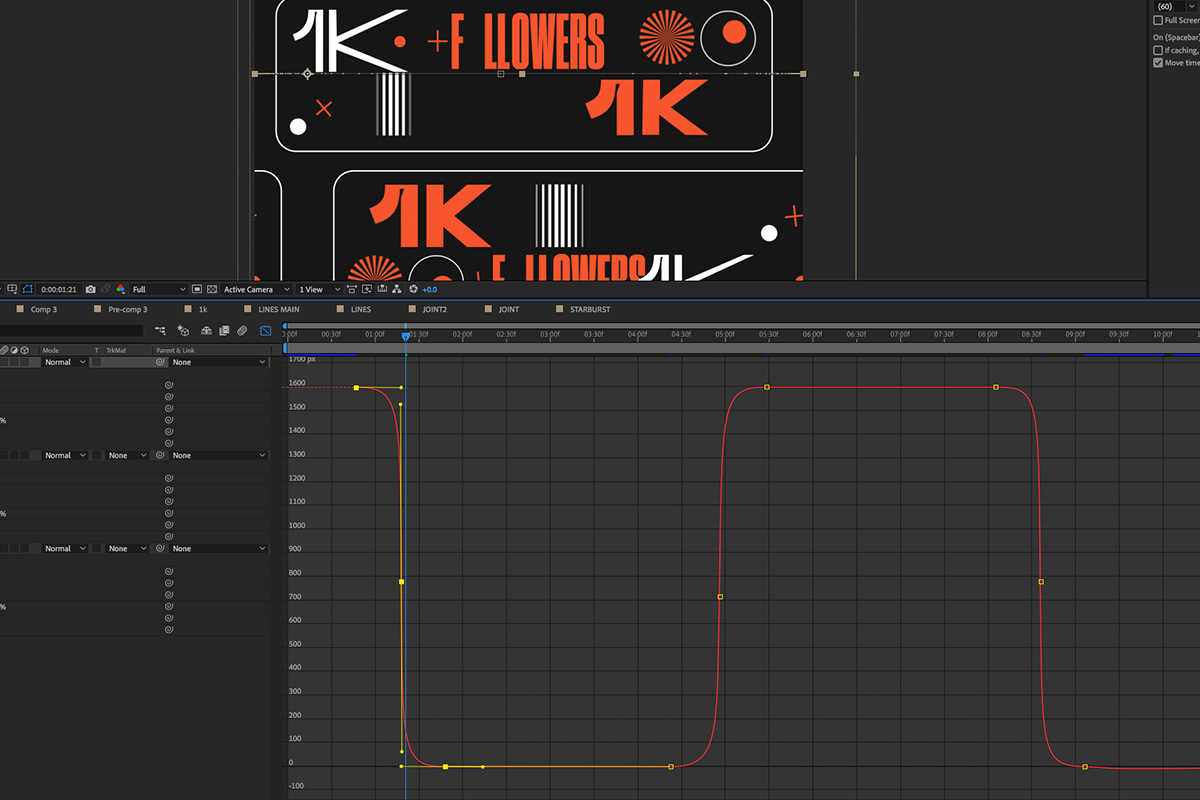
Step 6 — For the final touch, I added some more ease and graph edits on the ‘X position’ to carry on that snapping movement.
Step 7 — From experience people react much better to my posts when they see the final product in situ. I like to create mock-ups of the final product to give it that real-life feel. The variations are limitless.
Thank you Matt for this short run through. Check out more of his work here.