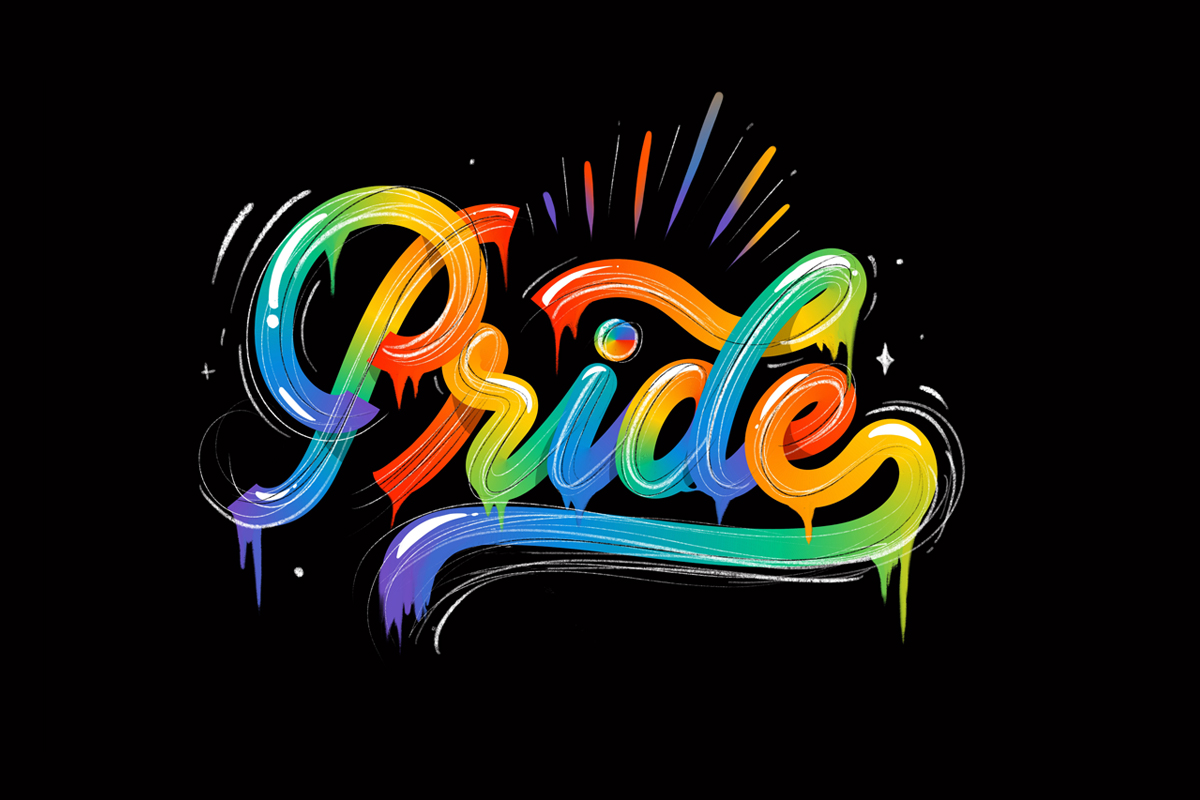
Nubia Navarro (@nubikini) is a talented Colombia-based Graphic Designer, hand letterer and passionate colour enthusiast. Her bold, electrifying lettering bursts with colour and creative elegance applied into a range of design solutions such as visual identities, custom logos and lettering, murals, poster designs and more. This week, we got in touch with Nubia to walk us through how she creates her stunning lettering pieces. Below find a quick and easy tutorial about how to achieve her ‘Pride’ rainbow lettering – have a go and tag us with what you come up with so we can share on our Instagram!
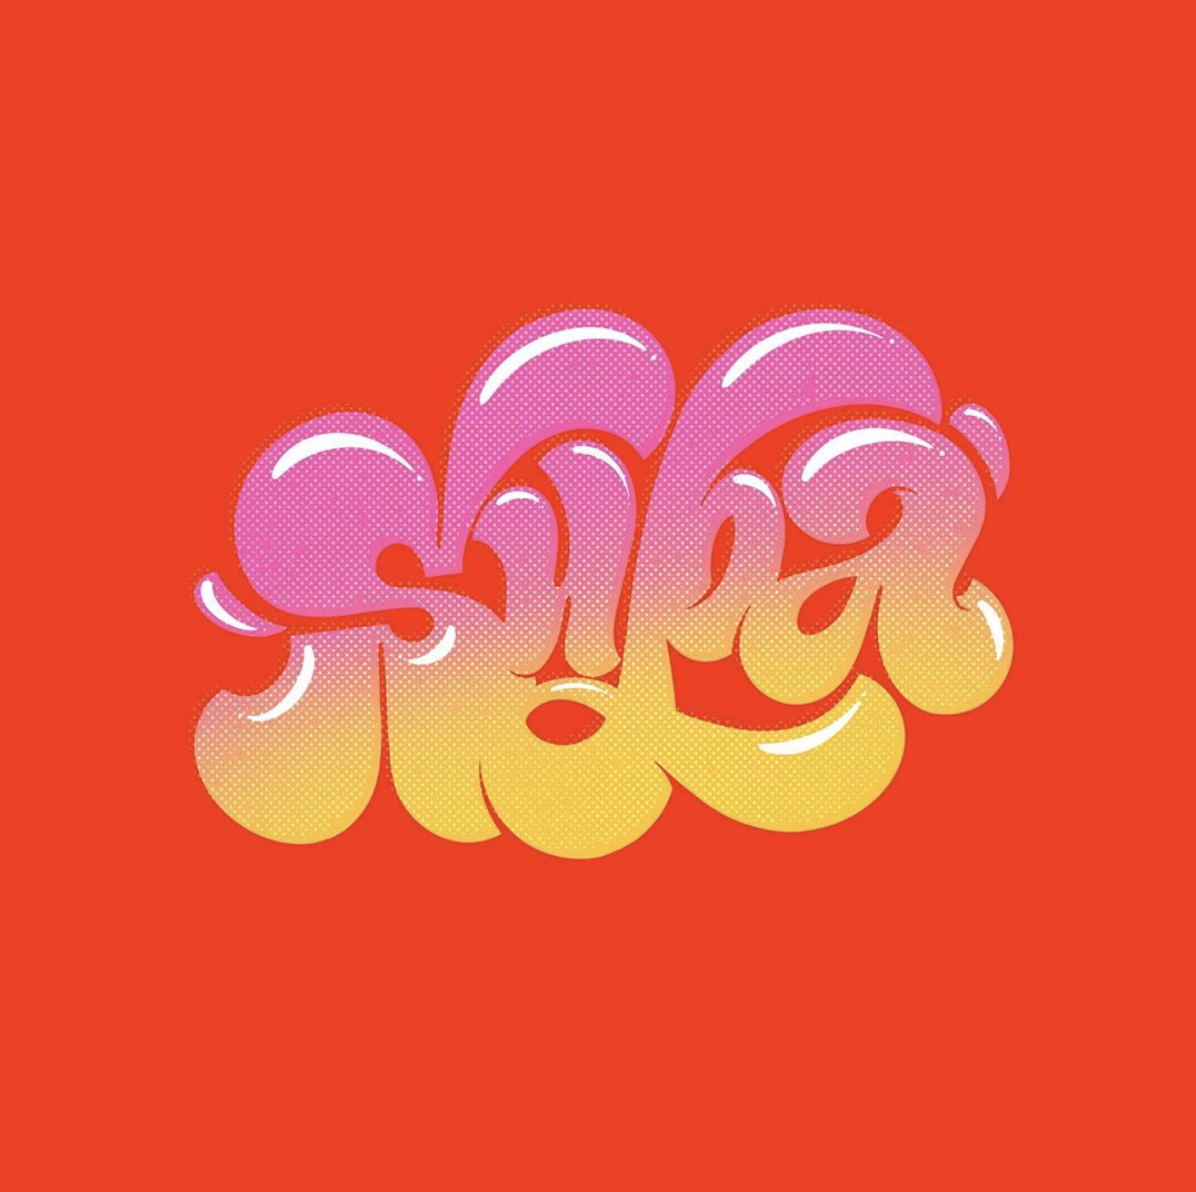
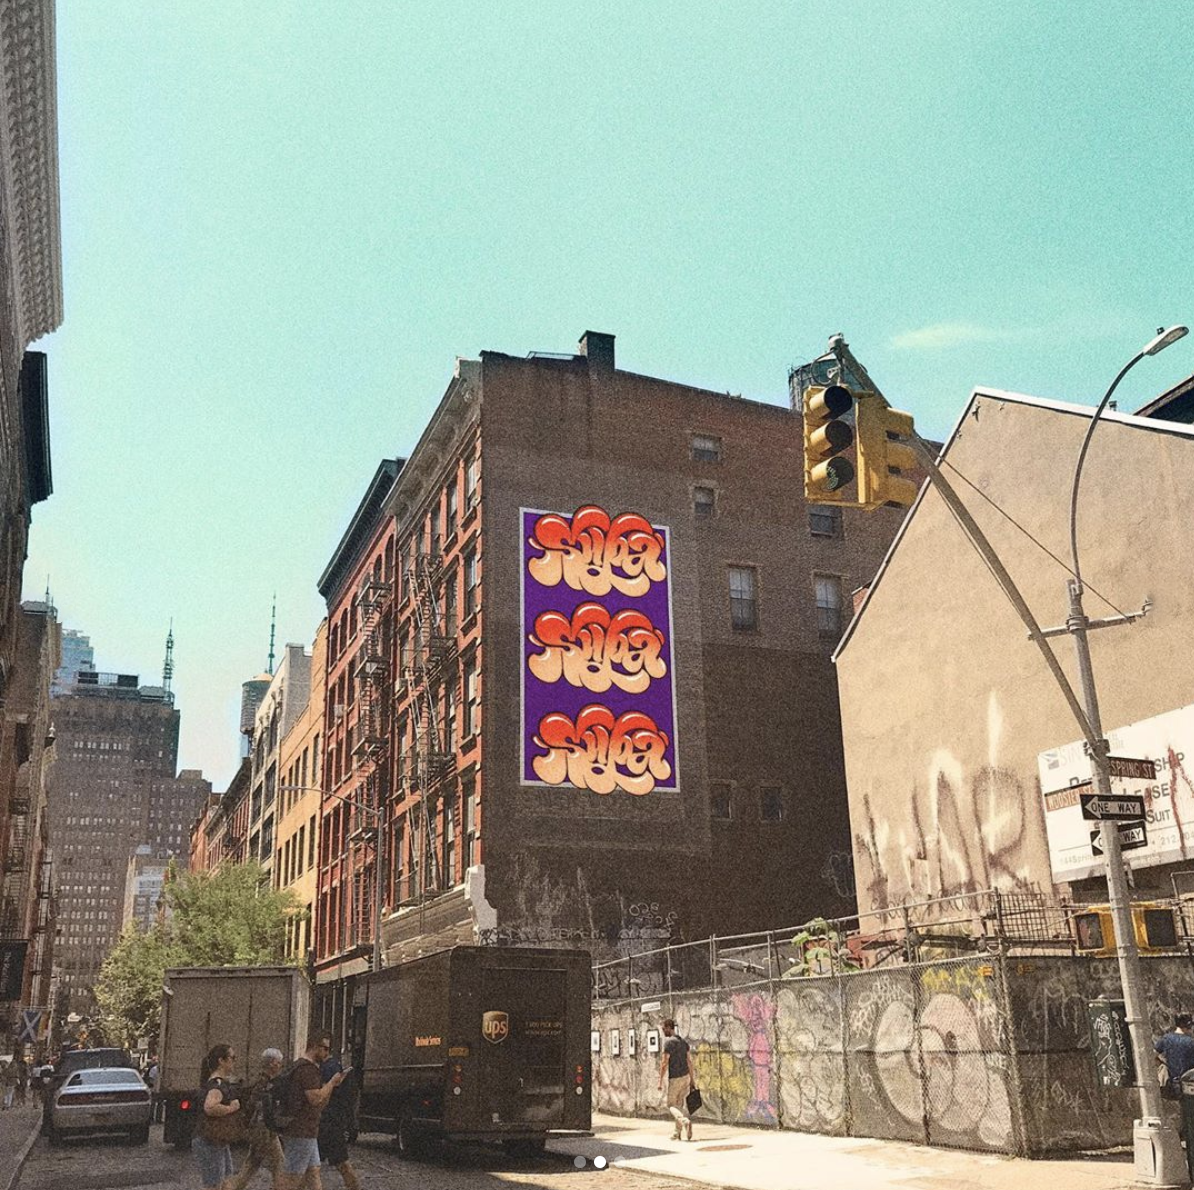
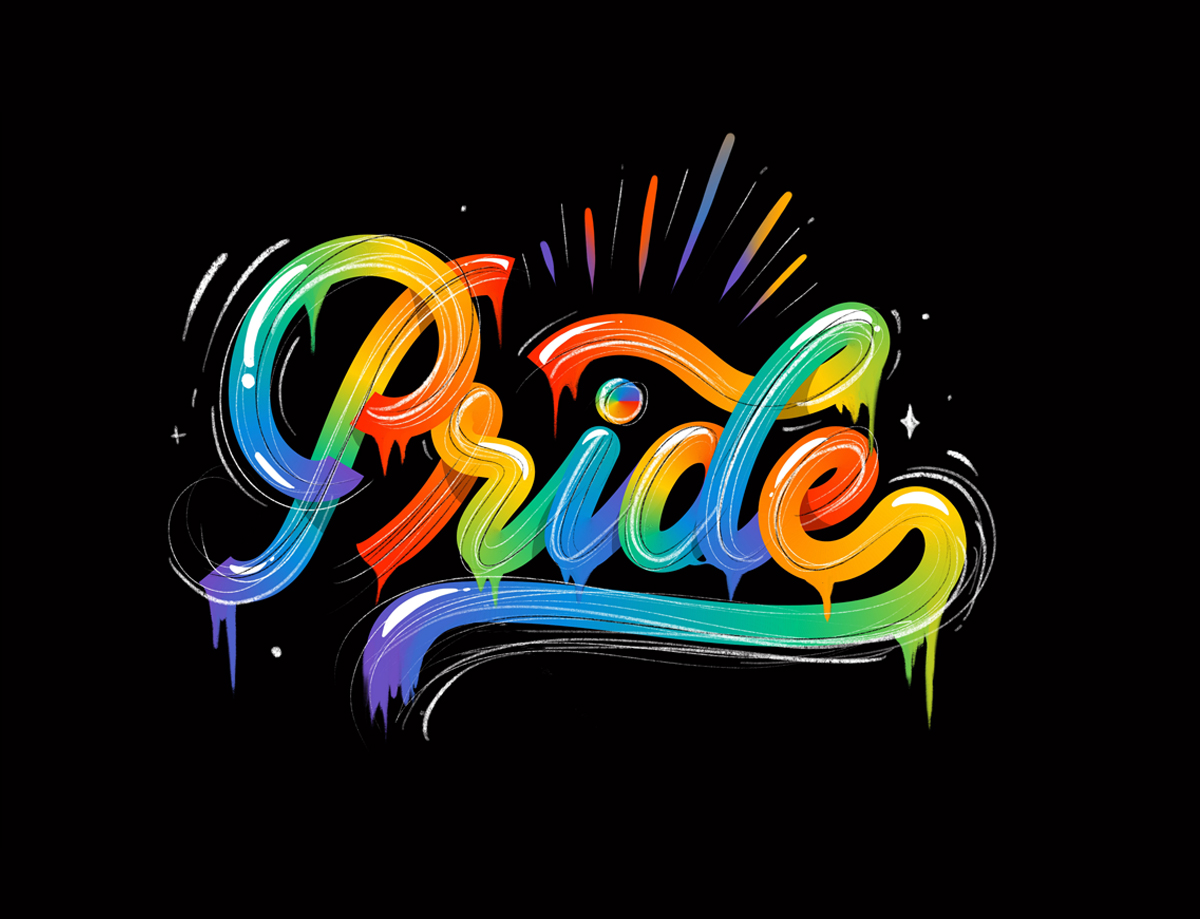

Image 1 — Open Adobe Illustrator. Pick your favourite colour combination. Window > Swatches. If you don’t know how to combine them you can look for a palette here https://coolors.co/. I picked the gay flag colours (for obvious reasons :B).
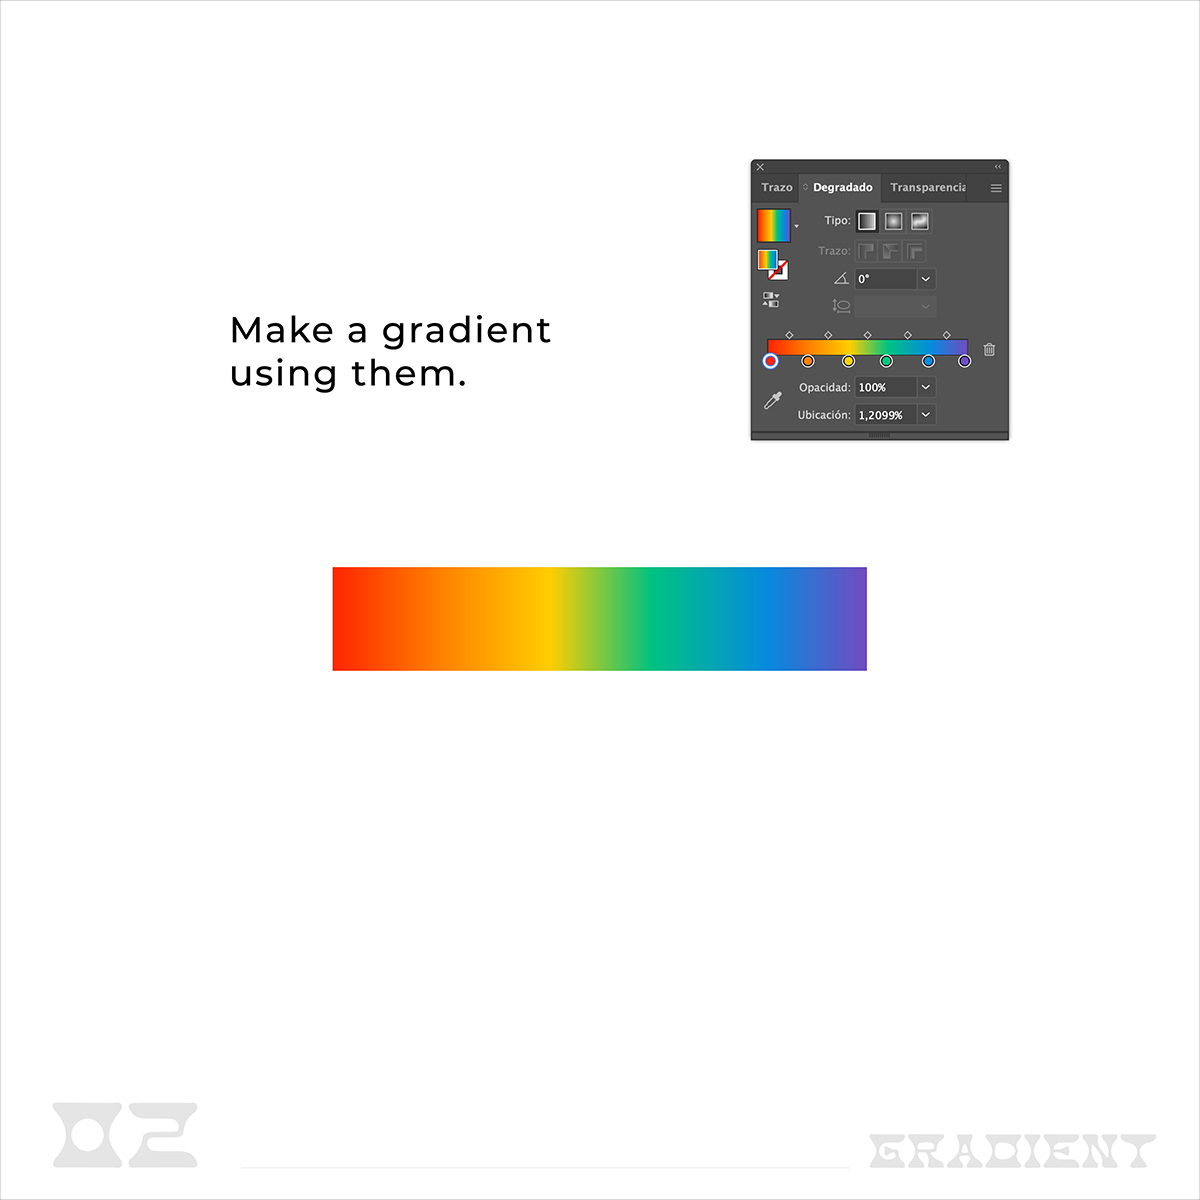
Image 2 — Create a linear gradient with the colours you selected before. Window > Gradient > Lineal. You can create any gradient you want.
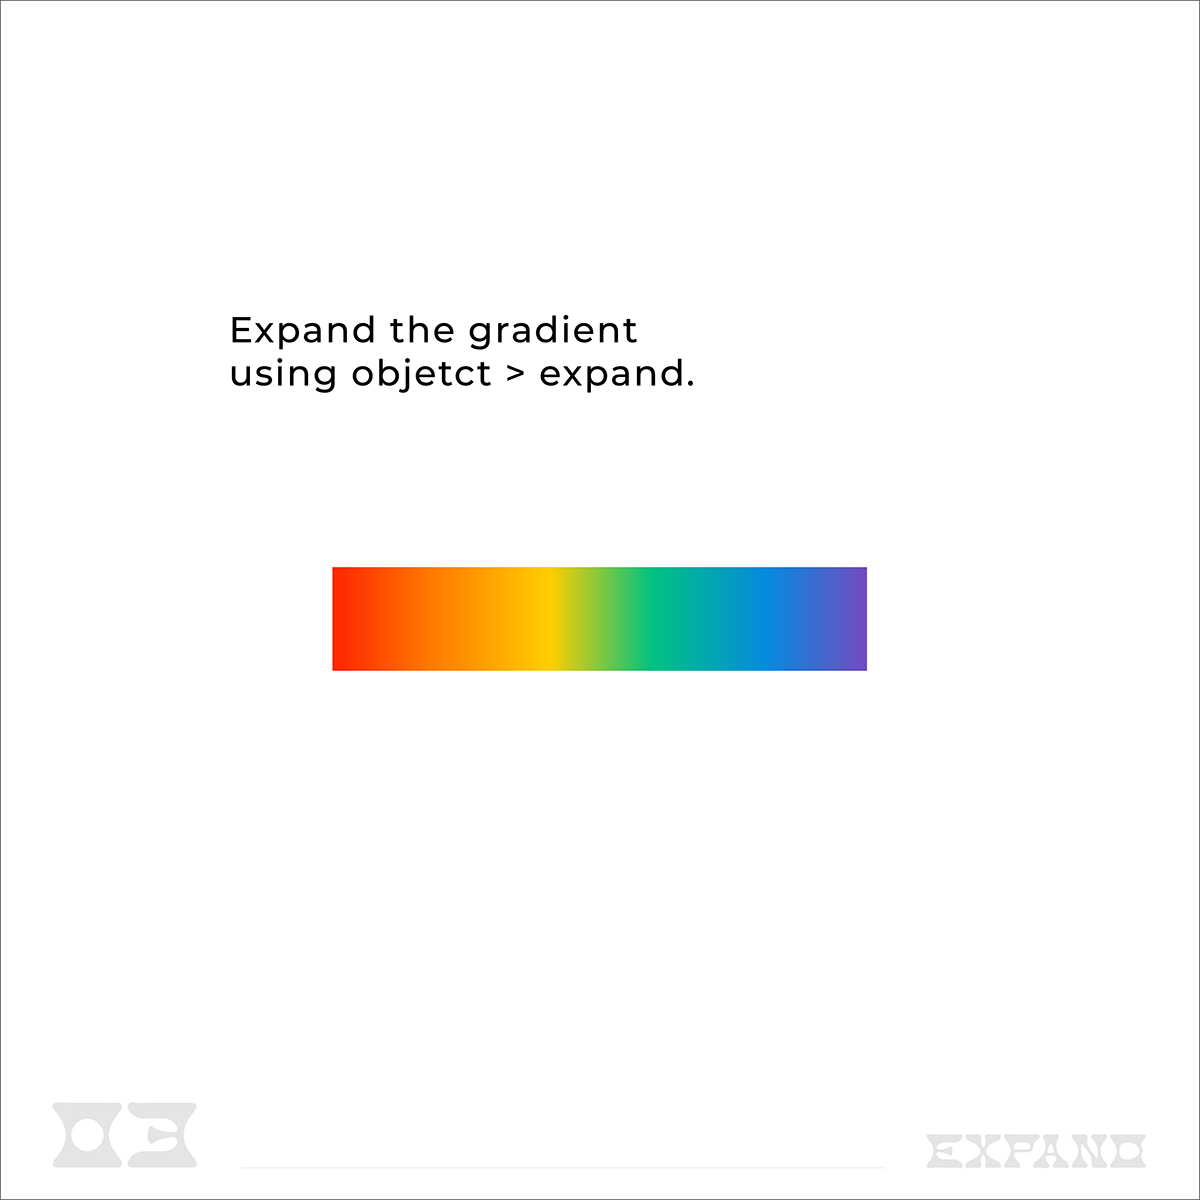
Image 3 — Expand the rectangle you already made. Object > Expand > Fill. You can’t convert any gradient in a brush if you haven’t expanded the shape before.
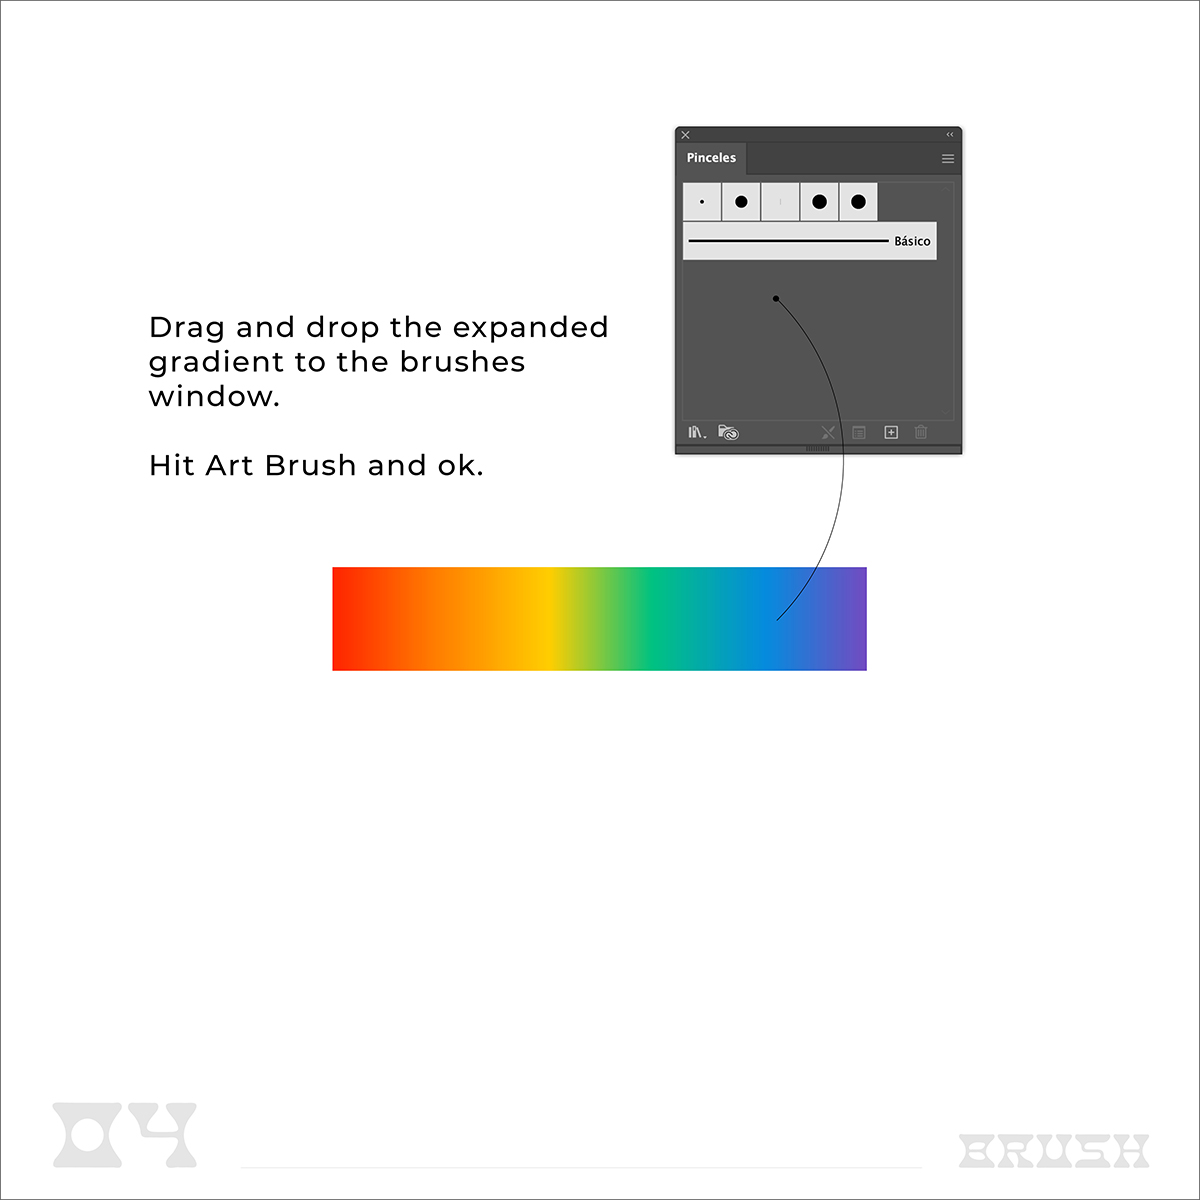
Image 4 — Drag and drop the expanded gradient to the brushes window. Hit Art Brush and ok. This will create a new brush on your default brushes library which is now looking beautifully colourful 😉
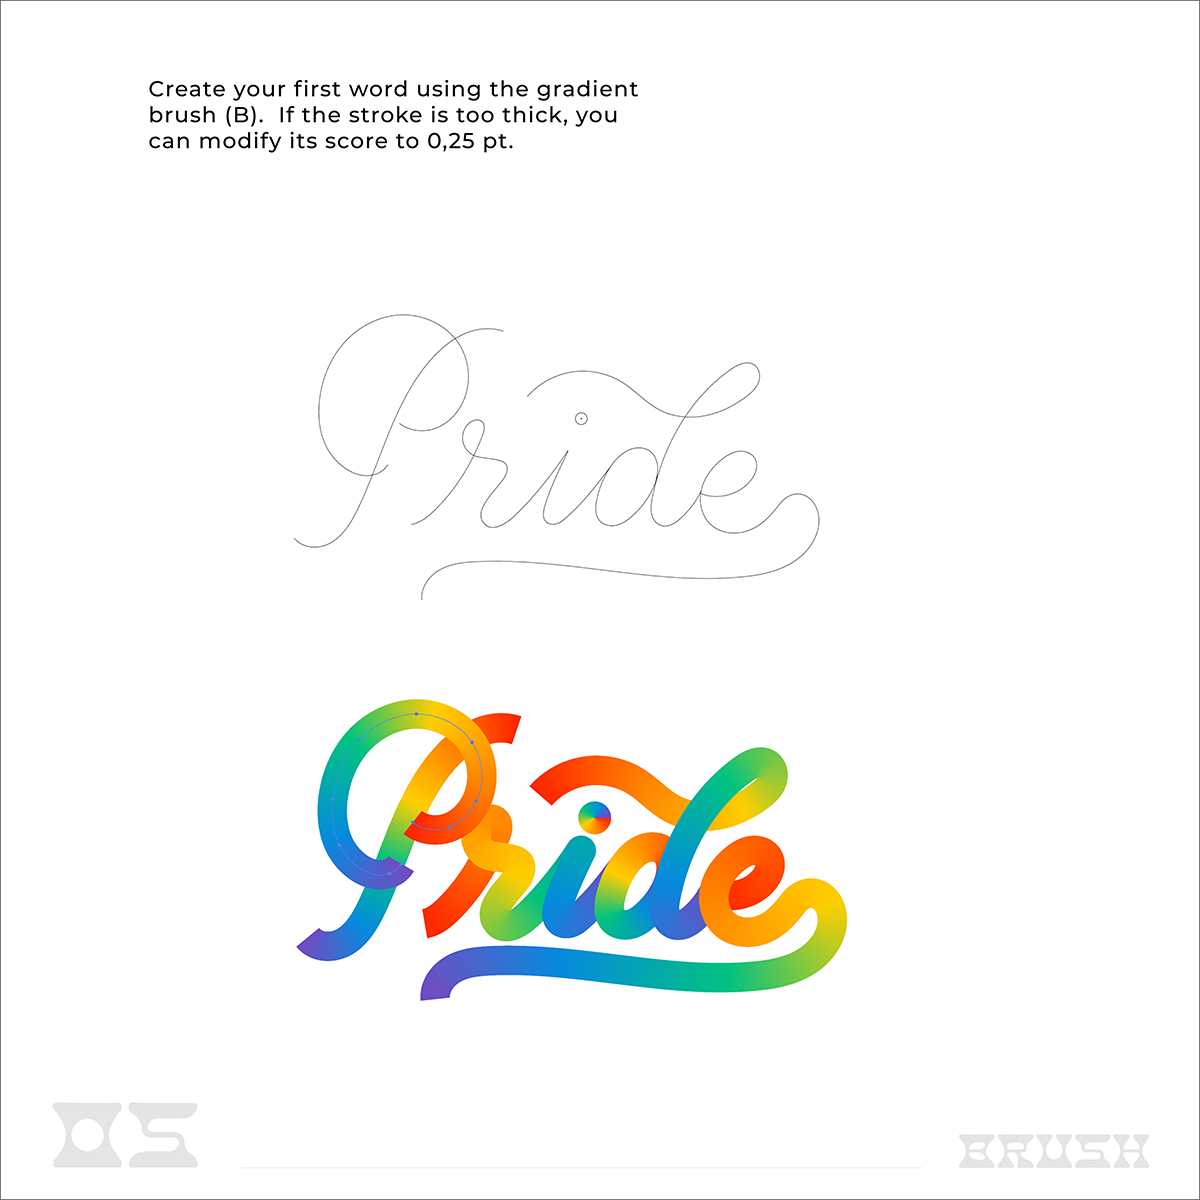
Image 5 — Activate the illustrator grids so you can make the X hight of the word you are going to draw. Start drawing and testing your brush. If the stroke is too thick you can change the stroke’s thickness on the top bar. Hit Command Y to see the bones of your word and to make some visual adjustments.

Image 6 — If you want to make it pop, try to find the light source and make some light strokes with the pencil tool (N) so your word will shine AF :D. Then draw some shadows with 30% opacity.
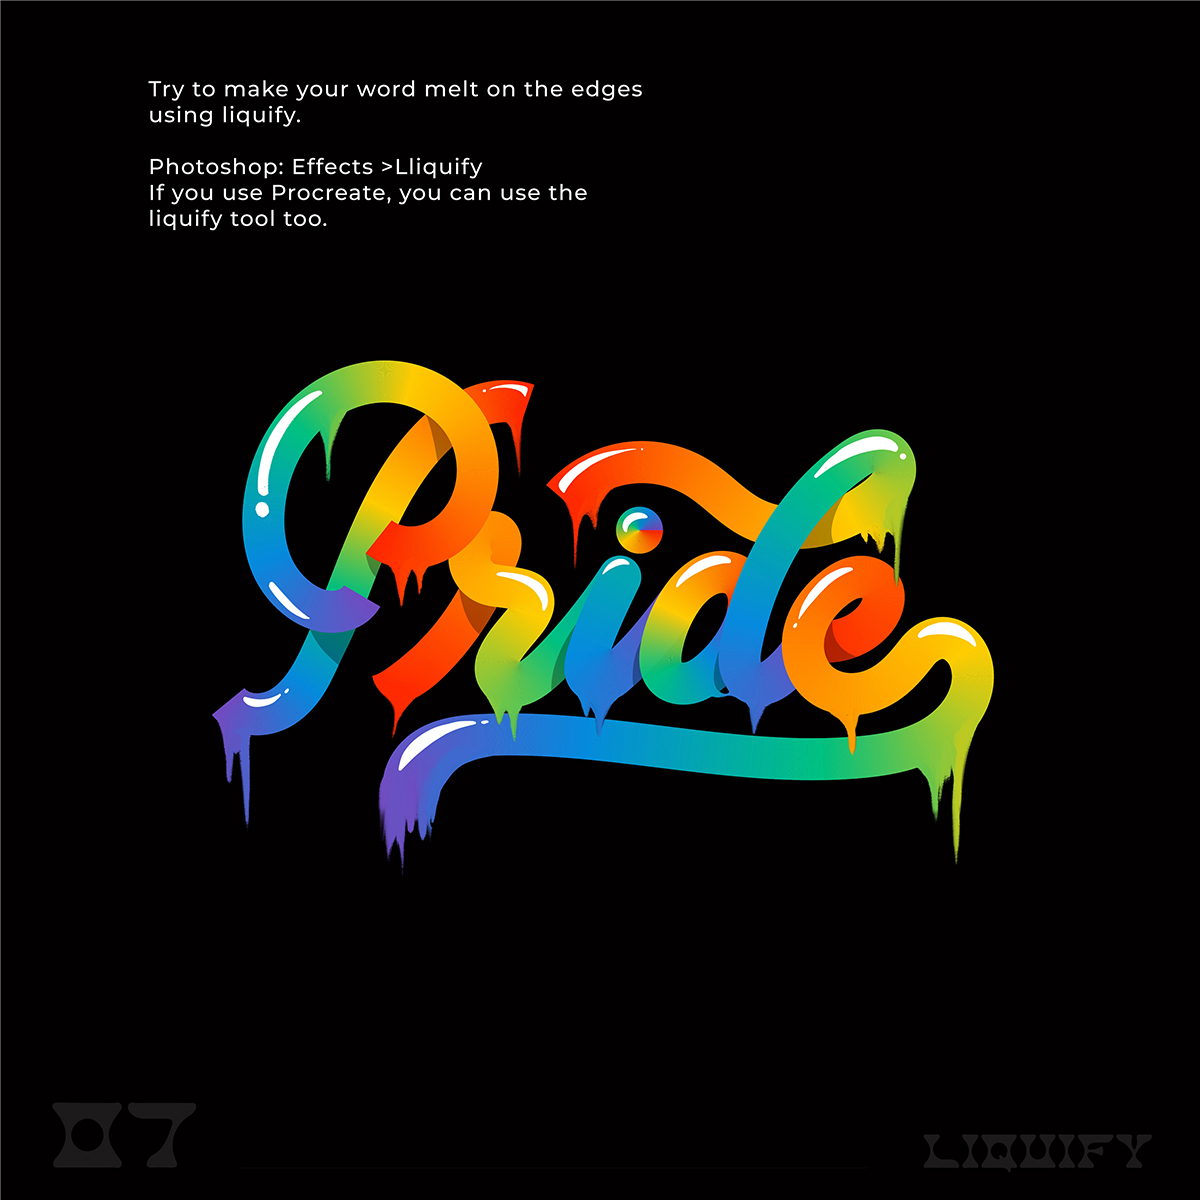
Image 7 — Take your vector to Photoshop and go to Effect > Liquify and stretch the edges or your word where you think it is necessary and logical.
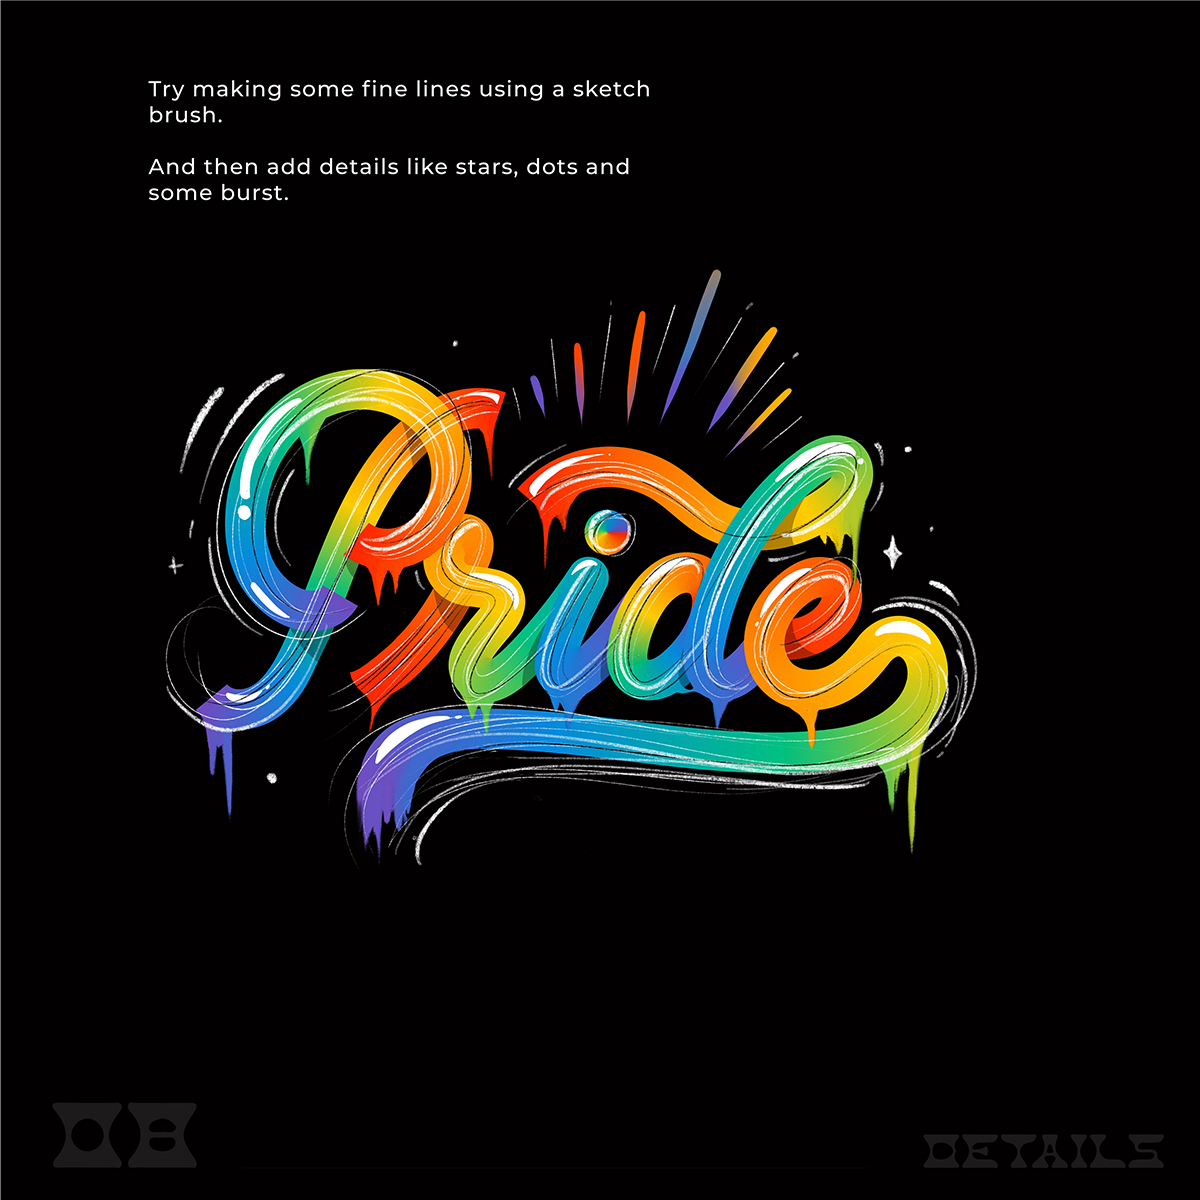
Image 8 — Add fine lines using a Photoshop sketch brush. If you don’t have any, you can find some cool ones here. And finally add details like little dots, stars and burst lines (those ones are my favs).
That’s it 🙂 I hope you try this little tutorial at home and I can’t wait to see what you come up with.
Thank you Nubia for this tutorial. Check out more examples of her work here.